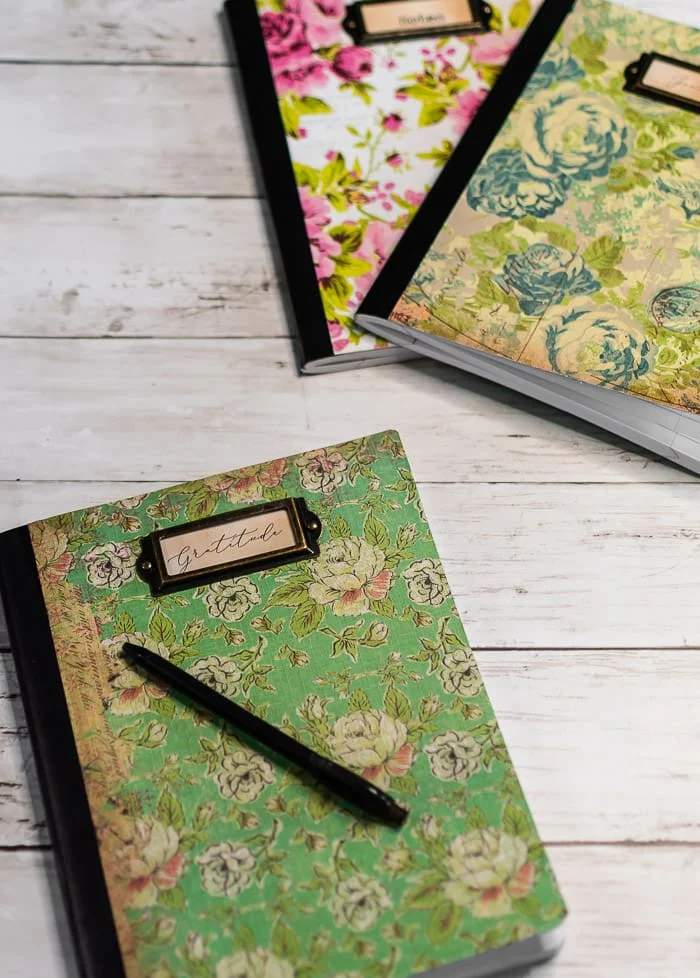
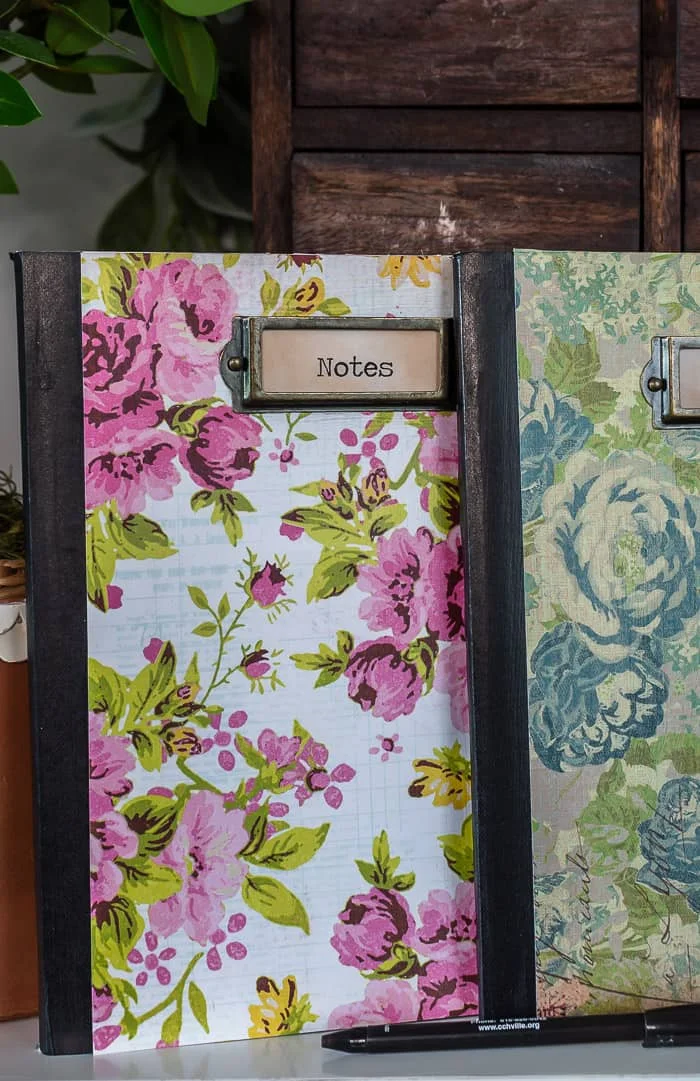
Easy DIY Floral Notebooks and Journals
Create beautiful floral covered journals with paper and vintage style metal label holders. A budget-friendly addition to your home, or gift idea for graduates, teachers and friends. Free printable notebook labels available.Do you love to journal? Maybe you're writing your first novel longhand, or you love to make lists of books read, movies to watch or planning your wedding! A notebook is such a useful tool for so many things, and it's even better when it can be beautiful on a dime!
Why you'll love this project
Notebooks and journals can be so pricey. I've been making them the easy way using inexpensive items from the craft store! Need a teacher gift or a special gift for a graduate? Make them a custom notebook following my tips below! Video tutorial included.
- these notebooks are crazy affordable
- they are easy to customize
- scrapbook papers come in many colors and styles to suit everyone and every occasion, even if florals aren't your thing
- a handmade notebook makes a great gift (think grads, teachers, mother's day, birthdays, etc)
- if you love vintage style, it's easy to make vintage looking notebooks with the paper you choose, and the old-school metal label
How to make easy floral notebooks
This post may contain Amazon or other affiliate links. As an Amazon
affiliate I earn from qualifying purchases.
My full disclosure policy can be found here.
I used to be a big time scrapbooker, and because of that I've collected lots
of beautiful scrapbook papers over the years. I'm loathe to get rid of any;
instead, I make my own cards,
custom gift wrap
and notebooks! These vibrant floral papers were begging to be put to use!
Everyone loves to receive a handcrafted gift that suits their style and taste,
and a budget-friendly notebook or journal makes such a great gift! This is
also an inexpensive way to make beautiful notebooks for use in your own home
or office.
Supplies
As always, check your local stores for the best prices, Amazon links are
included here for your convenience.
- composition notebook
- 12x12" scrapbook paper, decoupage paper*
- decoupage medium ( Dixie Belle Clear Coat Flat, or Mod Podge matte)
- foam brush
- paper trimmer or Xacto knife
- metal old-school style label holders
- mini bronze colored brads for label holder holes
- vintage photo ink and blending sponge
- labels (see below for details)
*if you're using napkins or decoupage paper, or any other thin material, I
highly recommend painting the composition book covers first with white chalk
paint
Steps to making beautiful floral notebooks
Please
watch this instruction video
for precise details and extra helpful tips. Many of the step by step images
below refer specifically to decoupage/rice paper. If you're using scrapbook
paper, skip ahead to step 3 below.
1. Paint composition book covers
If you're working with thin paper or napkins, be sure to paint the marbled
covers of the composition book so that doesn't show through! I found that two
coats of white chalk paint did the trick.
2. Lightly sand
Lightly sand the painted covers to smooth the surface. Paint can sometimes
leave small pieces of grit behind, so just smooth those out before moving on.
3. Measure and cut paper
Measure and cut paper to fit the notebook covers. For precise cuts, use a
paper trimmer to cut paper to fit the notebook cover. Don't forget a
coordinating back!
Tip: cut paper a little bigger than needed, and once glued down, trim them
using an
Xacto knife
for a precise fit. You can watch me do this in the video.
4. Adhere paper to covers
Using a foam brush, liberally brush decoupage medium onto notebook covers,
line up paper and press down to ensure a good seal. Repeat for back.
5. Seal and protect paper covers
Brush a coat of decoupage medium to paper covers. This seals and protects the
paper, adding to the longevity of the covers.
6. Make notebook labels
I made a set of printable labels in four different fonts that are sized to fit
the metal label holders I used and linked to above. If you're a subscriber,
you'll find the free printable in my Resource Library (link in every email).
If you're not a subscriber yet,
click here to subscribe . Look for the link to my Resource Library in the welcome email
❤
Print labels, grunge them up a little using the distress ink, then cut to
size.
Add the little brads to the holes in the label holders (I talk more about this
in the video if you're confused!) Glue the metal label holder to notebook
using a
strong adhesive like this. Lay something heavy on top until the adhesive sets up.
Making beautiful floral covered notebooks is almost as fun as shopping for new
school supplies lol! I'm excited to use these new floral notebooks in my
office!
Do you love this idea? Drop me a comment and let me know!
Pin to Save
You may enjoy these related ideas:


Notebooks are stunning! Love this DIY.
ReplyDeleteThank you Gina, I hope you get a chance to make a few!
DeleteThese are so pretty! They reminded me of the ones I made years ago when my young nieces came from California to Wyoming for a couple of weeks.. I covered their journals in maps of Big Horn Mountains.
ReplyDeleteLove that idea!
DeleteI love this idea! Small problem. When I click to see the printable, it links to the picture on that page, not a printable file.
ReplyDeleteThank you for letting me know Karen, I have updated the link with the correct file!
Delete